I belong to some baking groups on facebook and every now and then I see bakers using food markers to draw on cakes and cookies. It looked like so much fun that I had to try it myself! It’s much easier than you think and just as therapeutic as adult colouring books in my opinion — plus, you can EAT your colouring! What’s not to love?
I’m going to take you through the steps of making, icing, and decorating cookies that are good enough to sell, great for gifts, and (obviously) delicious to eat!
Step 1: BAKE YOUR COOKIES
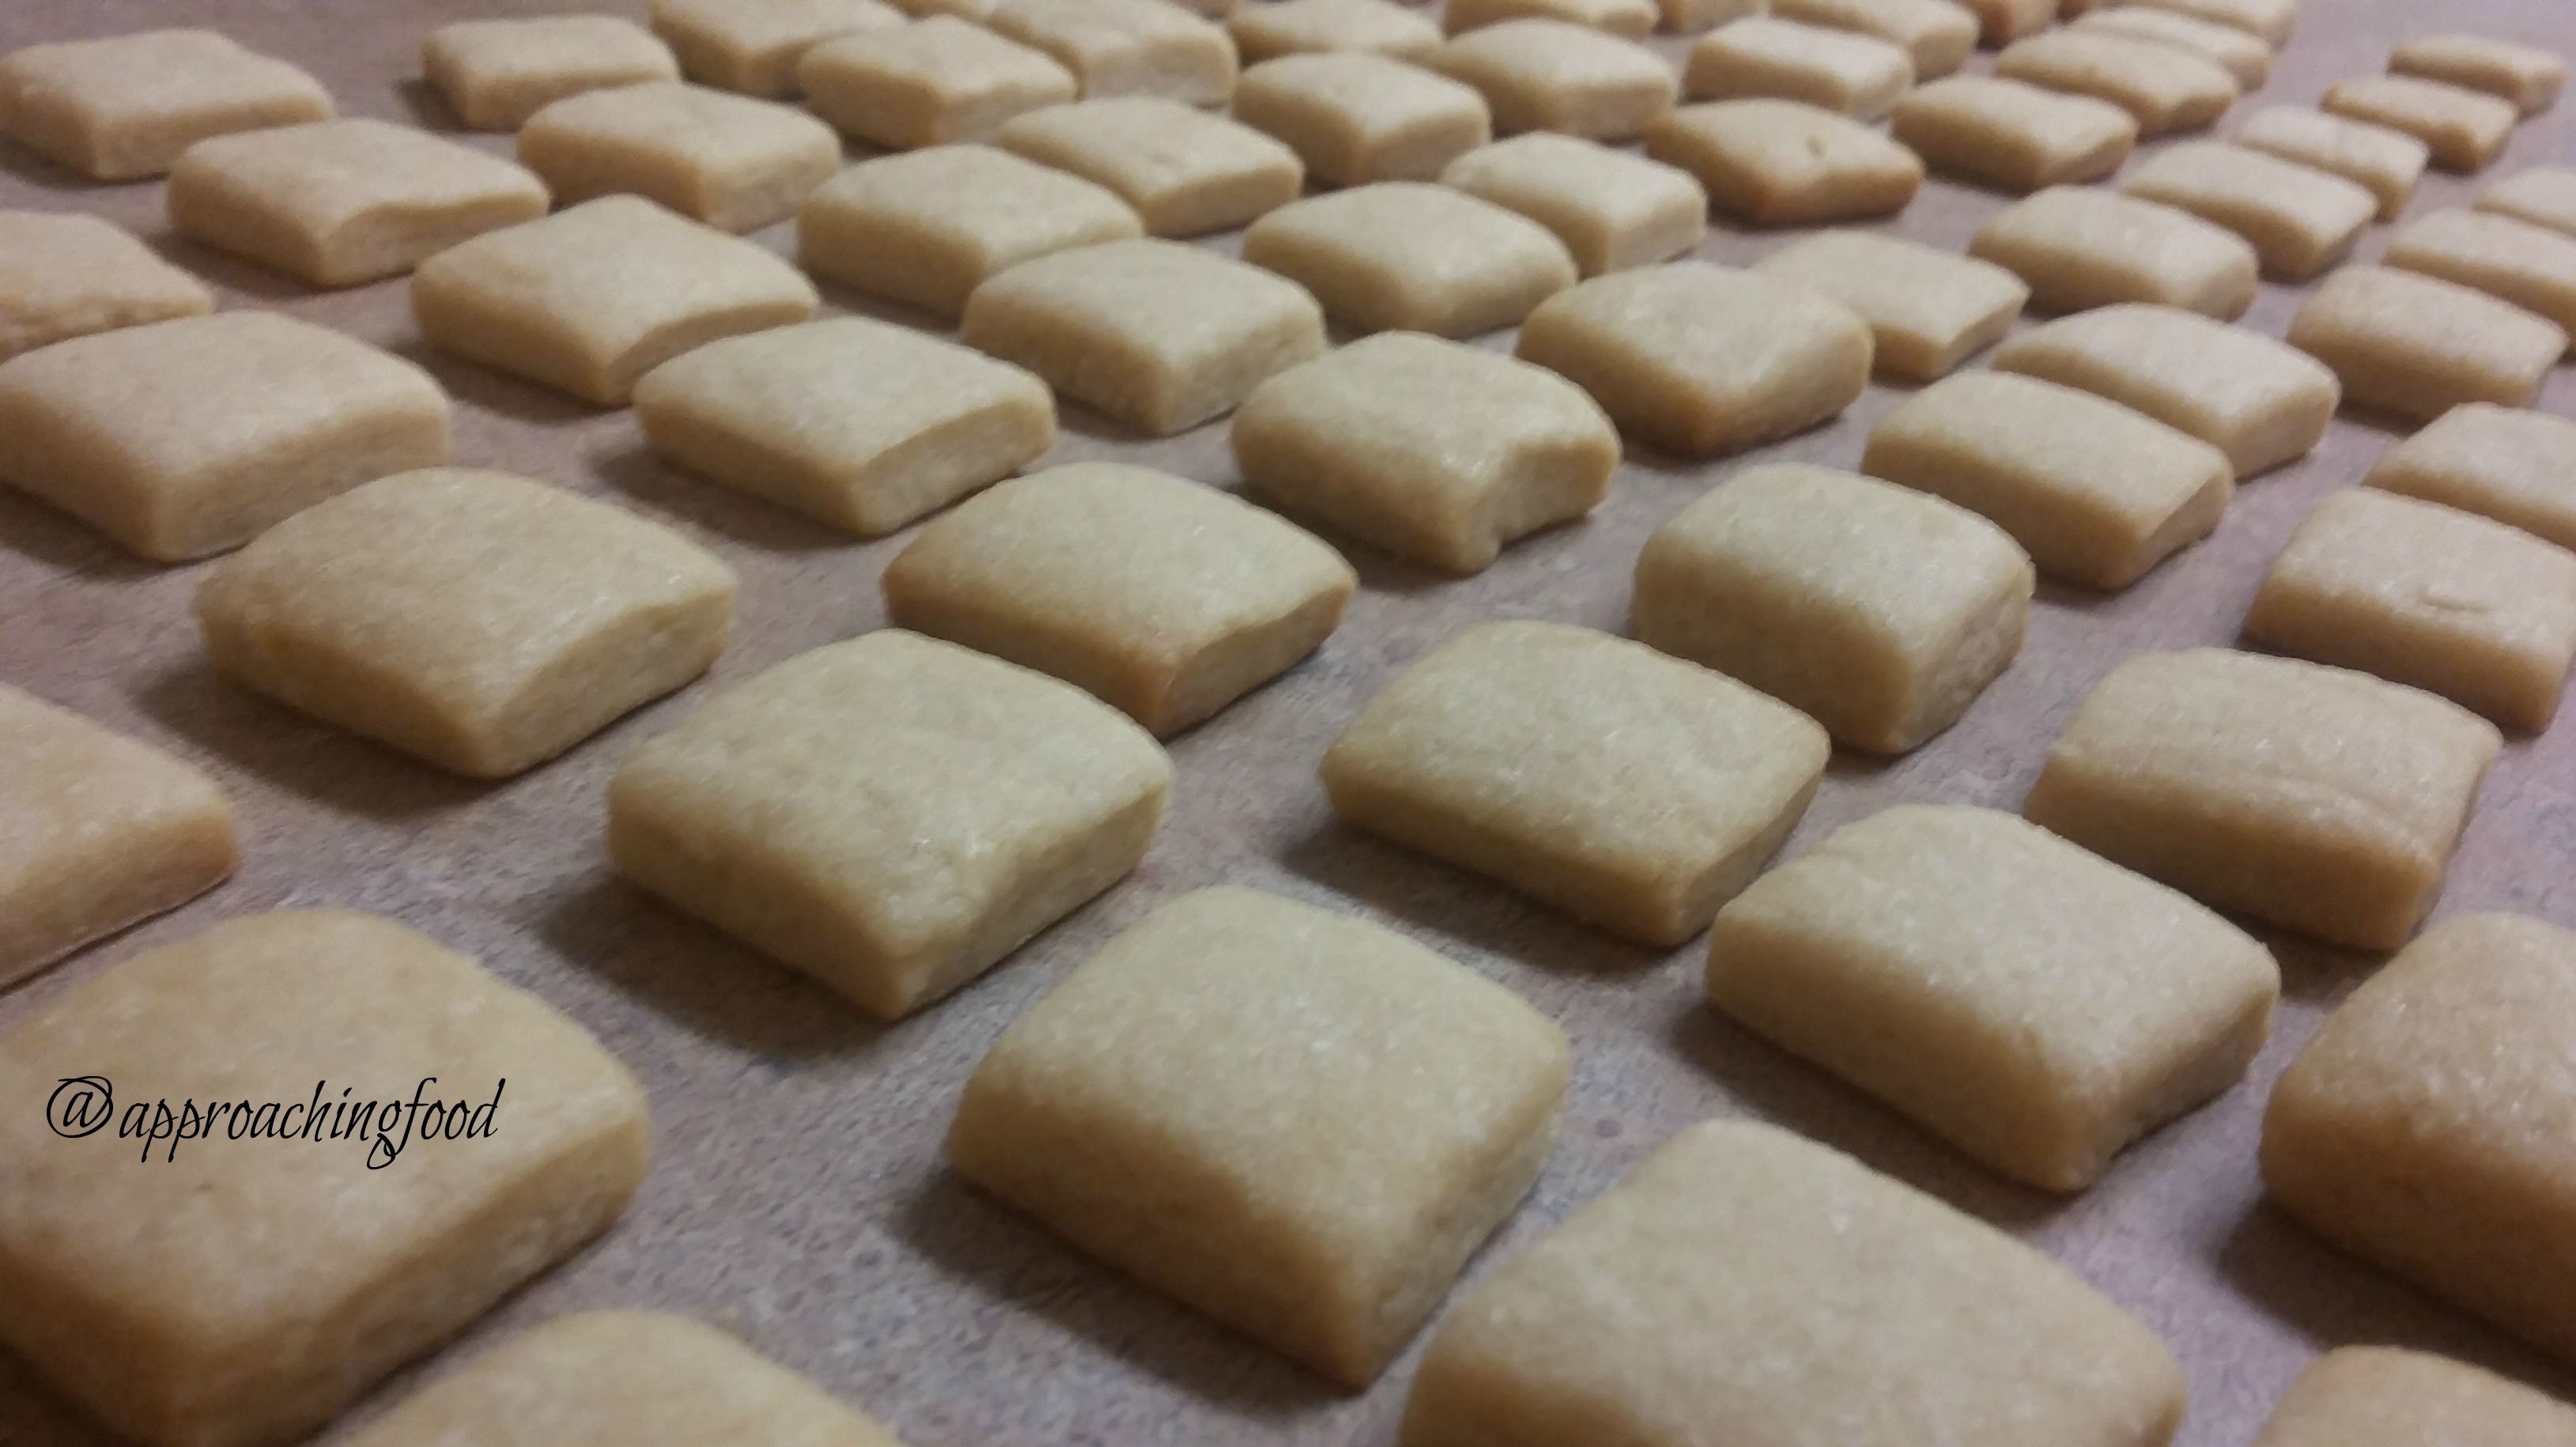
Make your cookie dough. I used this: Lilaloa’s Vanilla 2.0 recipe, as it’s a fail-proof recipe that I recommend to all my friends (and that includes you all)! Roll out the dough, and cut using your favourite cookie cutters. I used my “Fun Bites” cookie cutter. Easy to use, and it really does make for fun bites! Bake cookies until the bottoms are golden, and let cool.
Step 2: MAKE YOUR ICING
While the cookies are cooling, make your icing. Royal icing is the white sauce of the cookie world — versatile and the most important basic recipe to master. I used this recipe. The recipe will give you a stiff icing, and more than you need. That’s ok! You can store the rest in the fridge, in a plastic container, covered with a layer of plastic wrap under the lid.
Step 3: ICING THE COOKIES
Spreadable Icing vs. Piping Icing
So, you start with the stiff icing. This is spreadable consistency. Take a 1/2 c. of the icing, and mix in a teaspoon of water. Now, you’ve got icing that can be piped, but won’t run off the sides of the cookies. (Professional cookiers talk about 6-second icing, 12-second icing, etc., referring to how long it takes for the icing to spread out. It can take a lot of work to get to that level of expertise, and unless you’re making a living from selling cookies, it’s not worth all the practice it takes to get to that level. What I will show you, is good enough to get compliments and oohs and ahhhs from your friends and family — and which home cook doesn’t love that?)
Take your pipeable icing, and place it in a Ziploc bag, in a corner. Twist the top until you’ve essentially made yourself a cheapie piping bag. Cut the tiniest bit off the bottom tip of the bag. Now you can ice an outline! I outlined the squares on my cookies.
Fill-In Icing
Now that you’ve got your icing outlines piping, take another 1/2 cup of your spreadable icing, and add in 2 teaspoons of water. This will make for a looser icing than your piping icing. Place in another Ziploc baggie/icing bag, cut the tip off the bag, and squeeze some icing in the centre of the outlines. You will see this icing spread out in a few seconds. Resist the urge to fill in the outline with lots of icing (or else you’ll get icing running over the sides of the outline) and don’t try to spread out the icing (it will spread out by itself in a few seconds).
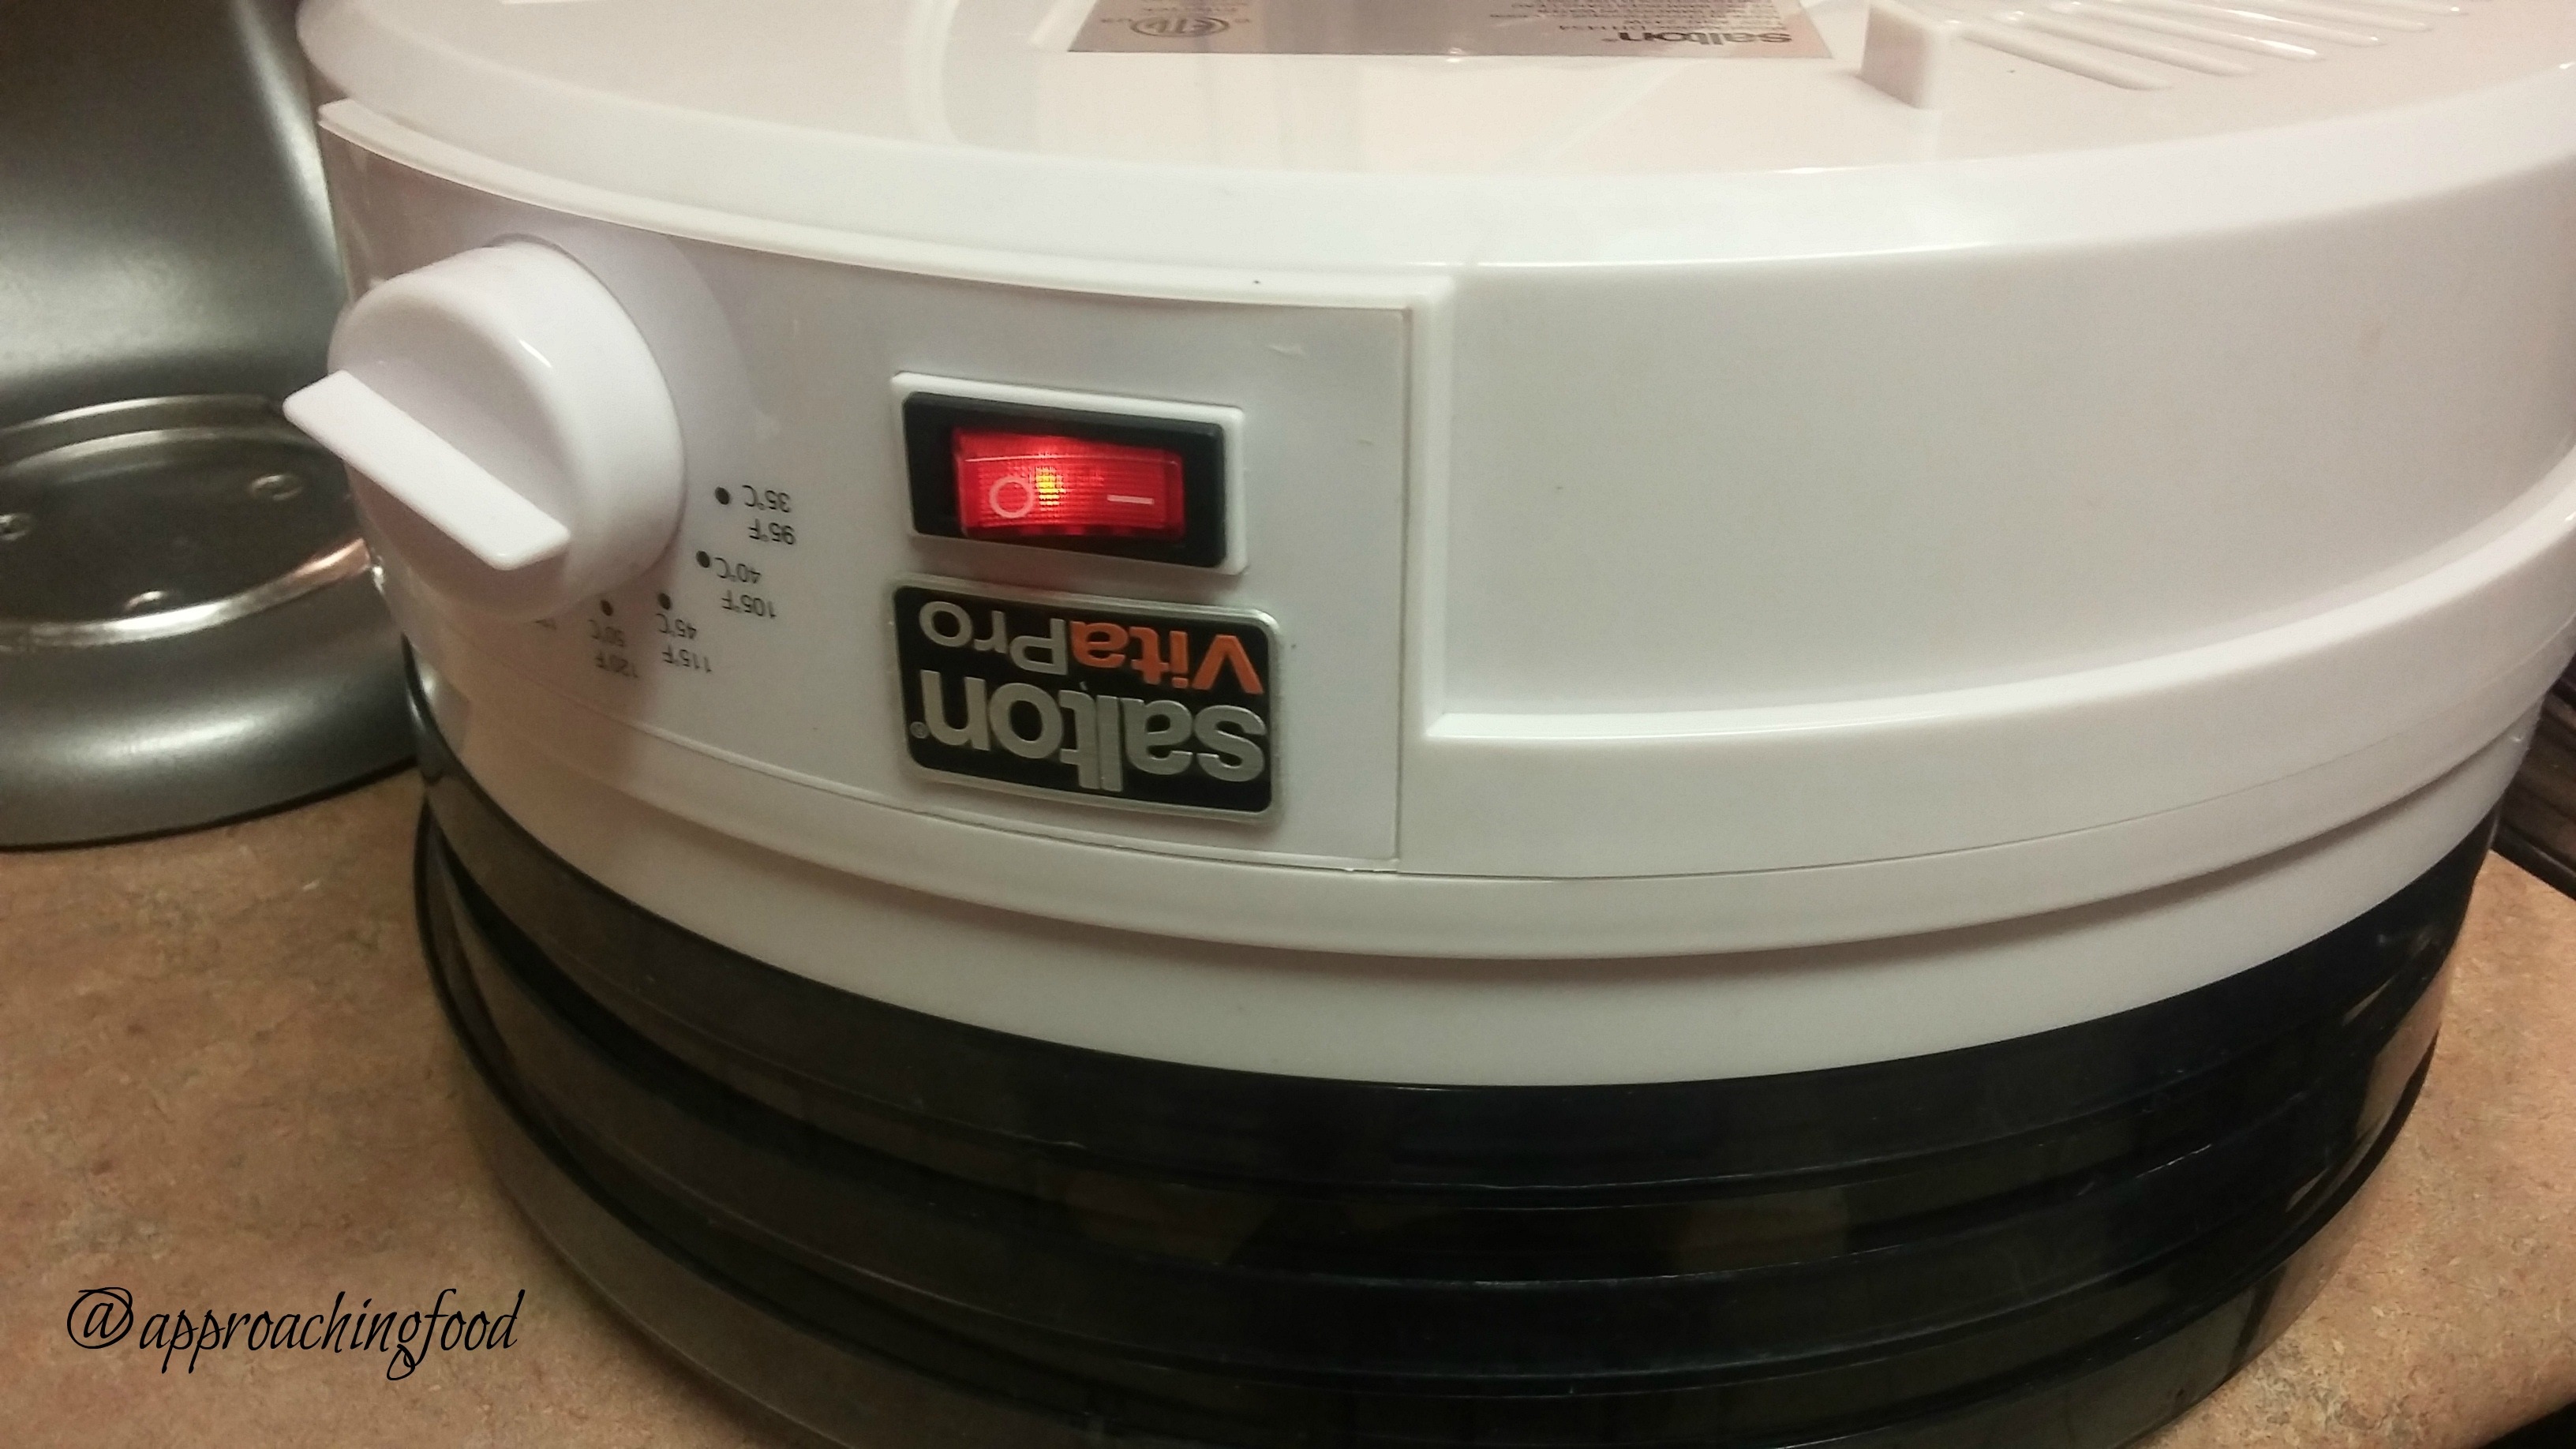
The DH walked into the kitchen and said: “That’s not how you use a dehydrator!” Little does he know!
Step 4: DRY YOUR ICING
At this point, you need to let your iced cookies dry before you can draw on them. Professional cookiers use dehydrators to get the icing on the cookies to be glossy. It’s a small difference, but a) makes your cookies look that much more polished and b) you get to draw on them faster! (A huge plus for someone like me who hates boring stuff like watching cookies dry, but loves the fun stuff like drawing on them.)
Put your cookies on dehydrator trays in your dehydrator. The catch is, it has to be a top-down or back-front dehydrator. In other words, the fan has to be on the top, blowing wind down onto the icing on the tops of the cookies, or in the back blowing to the front of the cookies. If you have a dehydrator that blows from the bottom up, you’re going to dry out your cookies instead of making the icing shiny. But….there’s a hack for that!
Kitchen Hack: Don’t have one of the more expensive dehydrators that blow back to front (like the Excalibur models) or top down? No worries, I have the Margaret-tested solution for you! Hack your bottom-up dehydrator! Put your cookies on your dehydrator trays. Place those trays on the counter. Place an empty tray on top of your cookie-filled tray. Then turn the base of your dehydrator upside down and place on top of the empty tray. Yes, it’s a tad wobbly, and you’ll have to keep an eye on it, but it dries those cookies to a glossy finish in under an hour!!!
Step 4: GO CRAZY WITH THE FOOD MARKERS!
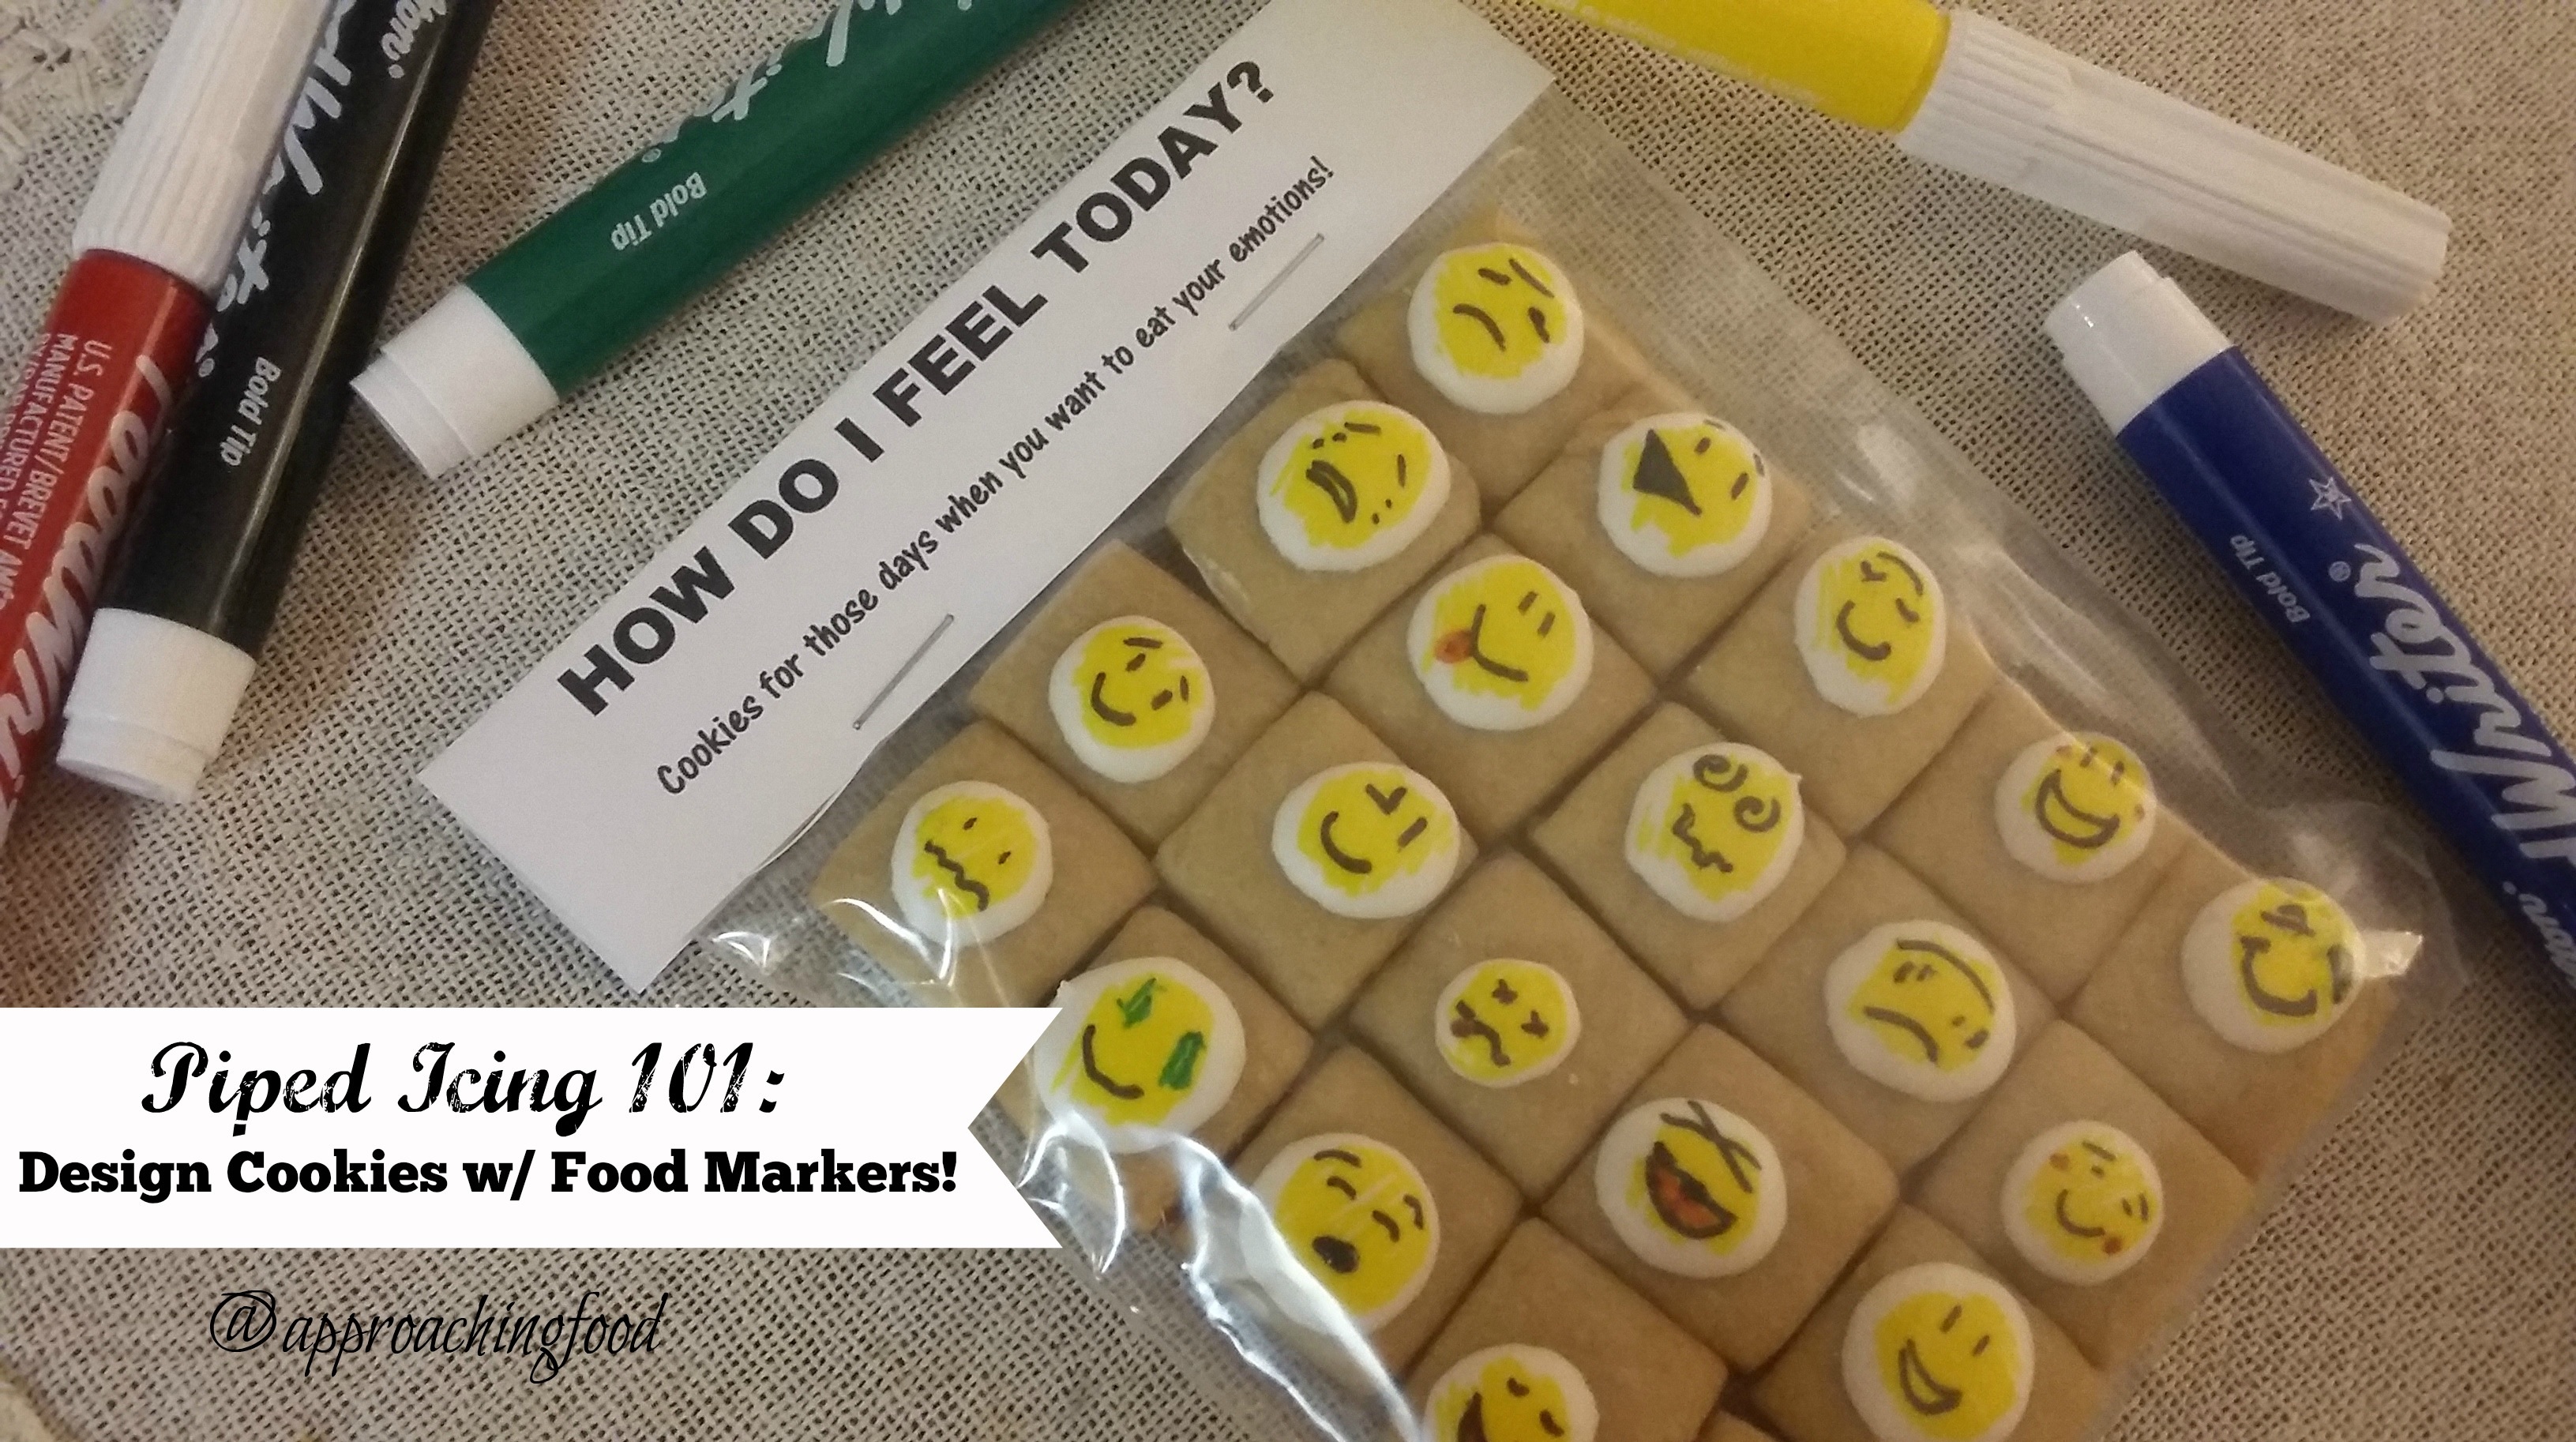
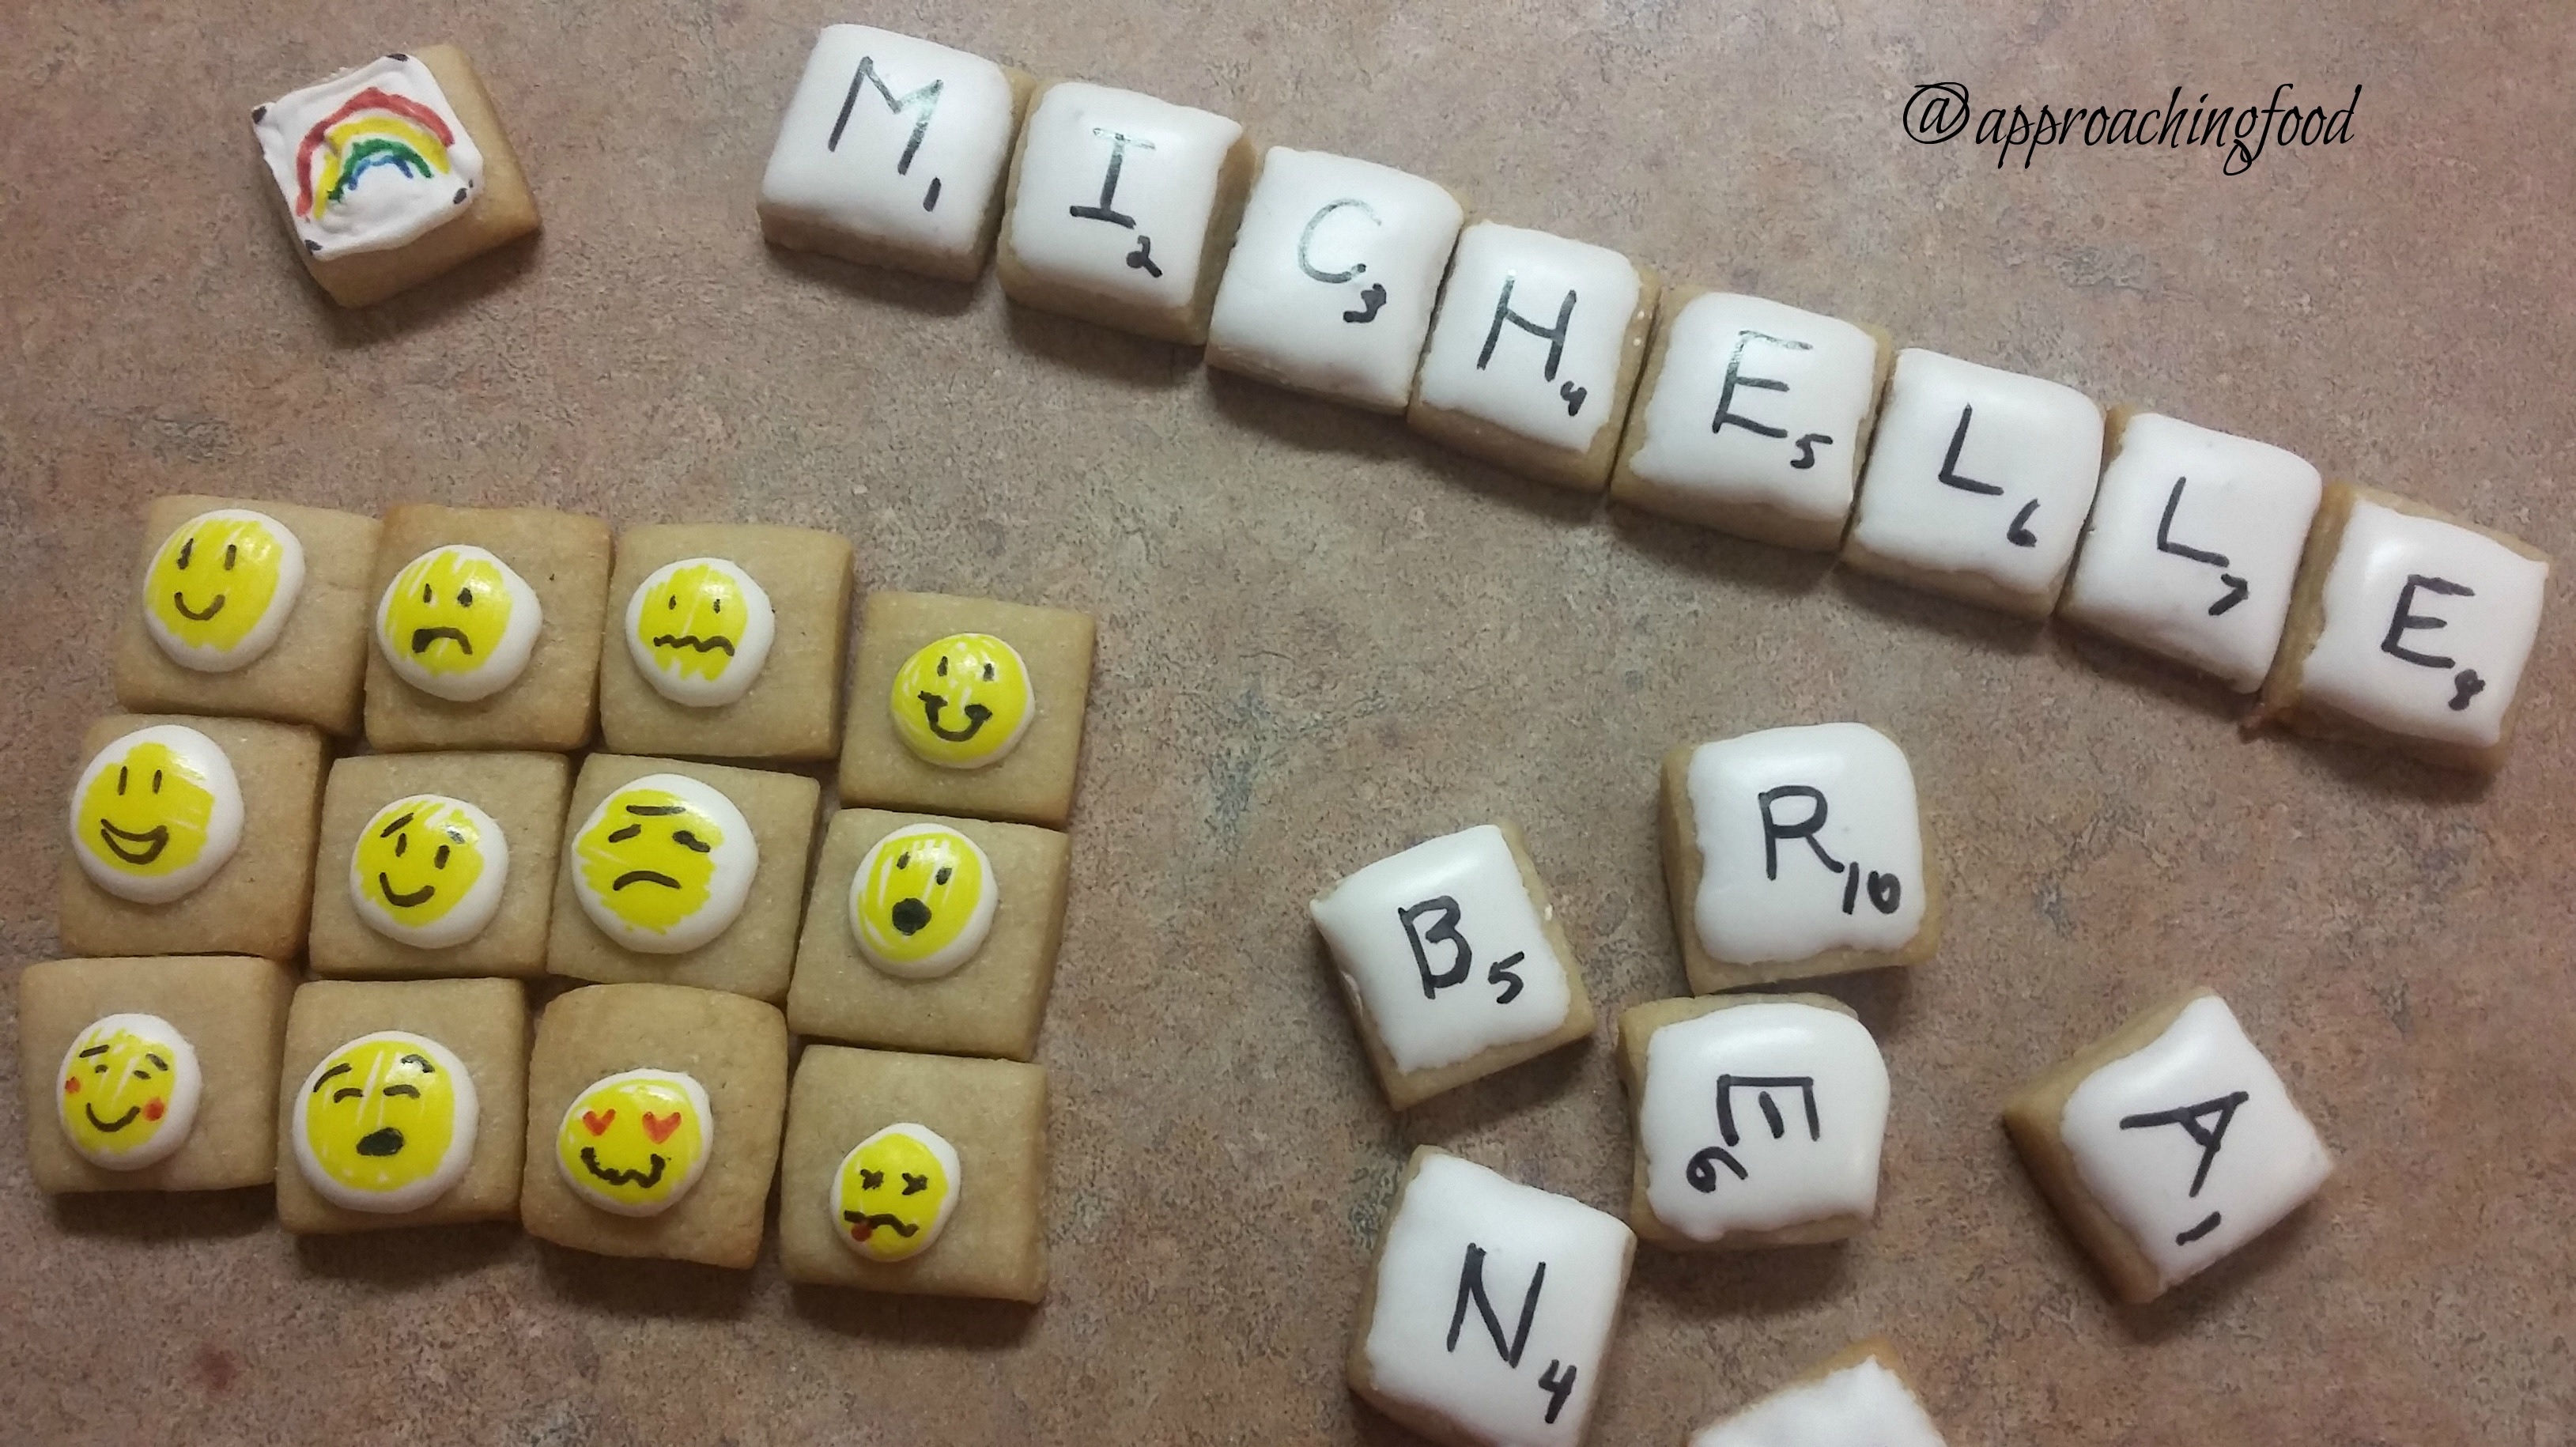
Once your cookies are dry (you can test this by pressing down with your finger gently on the icing — but be sure to do this on a test cookie), you can draw on them! To be honest, I got tired of piping outlines and filling them in, so I just piping some fill-in icing in blobs in the centre of my cookies and let them spread out into circles. Once dried they were the perfect smiley face template!
I drew on my white circle cookies with a yellow food marker and let that dry for a minute. Then I drew the faces on top!
Emoticon cookies — the perfect way to eat your feelings!
What sort of cookies will you create? Let me know in the comments! I think these cookies would be great to play around with. You could write love messages to the spouse, have the kids draw edible art to give as gifts to the grands, or just have some edible art therapy for yourself!
Food + art…a tasty combo!
Next Post: Hmm. Probably the Apple Cinnamon Pancakes I keep talking about!
Linking Up at Happiness is Homemade! And Full Plate Thursday!



Excellent and tasty idea!
Thanks so much for sharing your awesome post with us at Full Plate Thursday! Hope you are having a great week and come back to see us real soon.
Miz Helen
Thanks, Helen! Looking forward to this week’s Full Plate Thursday!
hey!
I’m having trouble with my cookies using the edible markers, I’m experiencing the ink bleeding onto the royal icing.. does this ever happen to you?
any tips?
Thanks!
Hi Sarah! I haven’t actually had that issue, but I know that some people do. It might be that the icing isn’t dry enough, so the addition of the liquid marker just makes it too runny. Which icing recipe are you using?