Back in the 70’s, when I was but a twinkle in my dad’s eye, my parents lived on the beautiful east coast of Canada, in the province of Newfoundland. Despite working as an engineer, my dad dreamt of being an entrepreneur. My mother made delicious homemade yoghurt, so *lightbulb*, my dad thought this could be the start of a yoghurt business empire. He called up a local hospital and asked them if they would be interested in buying yoghurt for their patients, yoghurt being a health food and all.
“Yoghurt?” asked the dietician, “Isn’t that made from bacteria? Doesn’t that stuff make you sick?”
Alas, apparently the granola-eating, Birkenstock-wearing hippies that the 70’s are known for, had yet to infiltrate Newfoundland. My dad’s future yoghurt empire was shot down by a bacteria-wary dietician, intent on protecting his patients from live cultures.
But you all know better, right? Yoghurt is the stuff of gut dreams! Those live cultures are populating your gut with healthy bacteria, helping you fight off gastrointestinal nastiness.
And if that doesn’t convince you to make your own yoghurt, well, what about if I tell you that it’s delicious? Easy, inexpensive, healthy, AND delicious! What more could a foodie ask for?
EASY-PEASY SLOW-COOKER YOGHURT
- 4 l. milk
- 1/2 c. yoghurt with live cultures (the “live cultures” bit is crucial. Make sure the container has that labeling.)
- 2 tbsp. vanilla extract
Heat milk until close to 180 degrees. (I measured it using a candy thermometer.) Be careful though, when it gets close to 180 degrees, it’s easy to forget about it and let it start boiling — which means a scorched pot. Personally, as long as the temperature is between 150 and 180 degrees, I think it’s all good. Basically, heating the milk means that you’re changing the structure of the proteins, which is necessary for the milk to be cultured into yoghurt.
Let milk cool until it reaches 120 degrees, and pour into a slow cooker. Let the mixture cool in the slow cooker until it reaches 110 degrees, and whisk in 1/2 c. of yoghurt and the vanilla extract. The heat of the cooling milk will heat up the ceramic insert in the slow cooker; this helps keep the cultures in the mixture at the ideal temperature for growing and turning that milk into yoghurt. By the way, I’ve forgotten to add the vanilla extract at times, and it doesn’t make much of a difference if you’re going to be stirring in jam anyway, but if you plan to eat it plain, definitely add the extract!
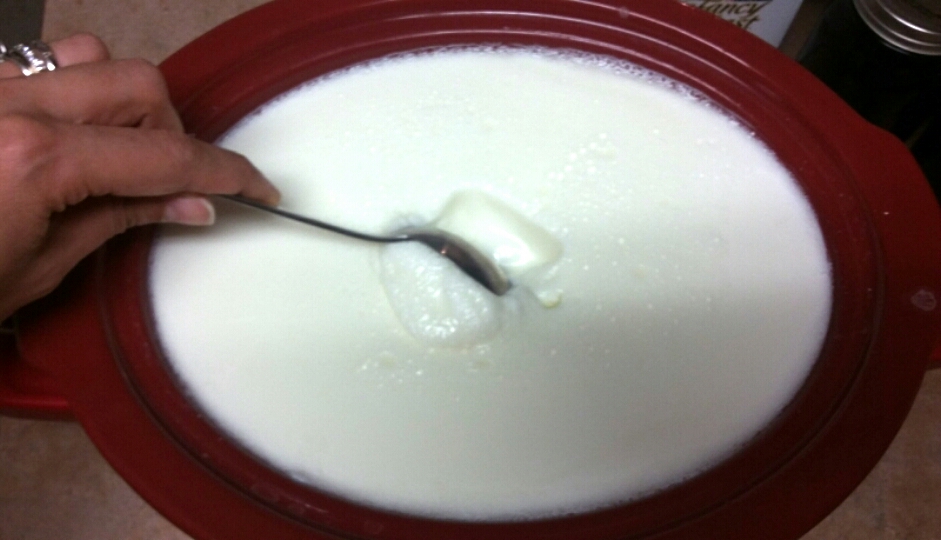
Wrap the entire slow-cooker in several towels, and leave for at least 12 hours (overnight works for me). So, you’re not actually using the slow-cooker to cook anything; you’re using it as a heat-retaining receptable. Some people make yoghurt by wrapping a pot of milk in a heating pad, some people make hot boxes for their yoghurt. Me? An unplugged slow-cooker, a few towels, and a good nights sleep mean that I wake up to freshly cultured yoghurt!
When you open up your slow-cooker after 12 hours, you should be able to see that there is a clear, yellowish liquid around the edges of the yoghurt. That’s the whey, and can be drained off to be used in baking or for adding protein to smoothies, or just mix it back into the yoghurt! This yoghurt will be somewhat thin, depending on whether or not you drain off the whey. But this is what real yoghurt looks like, when there’s no gelatin added in like commercial yoghurt has!
GREEK-STYLE YOGHURT
To make thick, luscious Greek-style yoghurt, just drain the whey from the yoghurt until the desired thickness is reached. To do so, place a sieve over a bowl, and place some cheesecloth or a clean cotton dishtowel over the sieve. Pour the yoghurt into the sieve and let sit in the fridge for a few hours. Bam! Greek yoghurt, baby!
LACTOSE-INTOLERANT? HAVE NO FEAR!
I think I’ve mentioned before on this blog that I’m lactose-intolerant. I can eat food with lactose, but I try to reduce it as much as possible, to reduce my stomach discomfort as much as possible (Except for pizza. For pizza, I will periodically suffer!). The good news is that with this homemade yoghurt, you can make it almost lactose-free! How? Just let the yoghurt incubate for 24 hours as opposed to 12. It will be more sour (because the sugar — i.e. lactose — will have been eaten up by the good bacteria), but hey, less lactose!
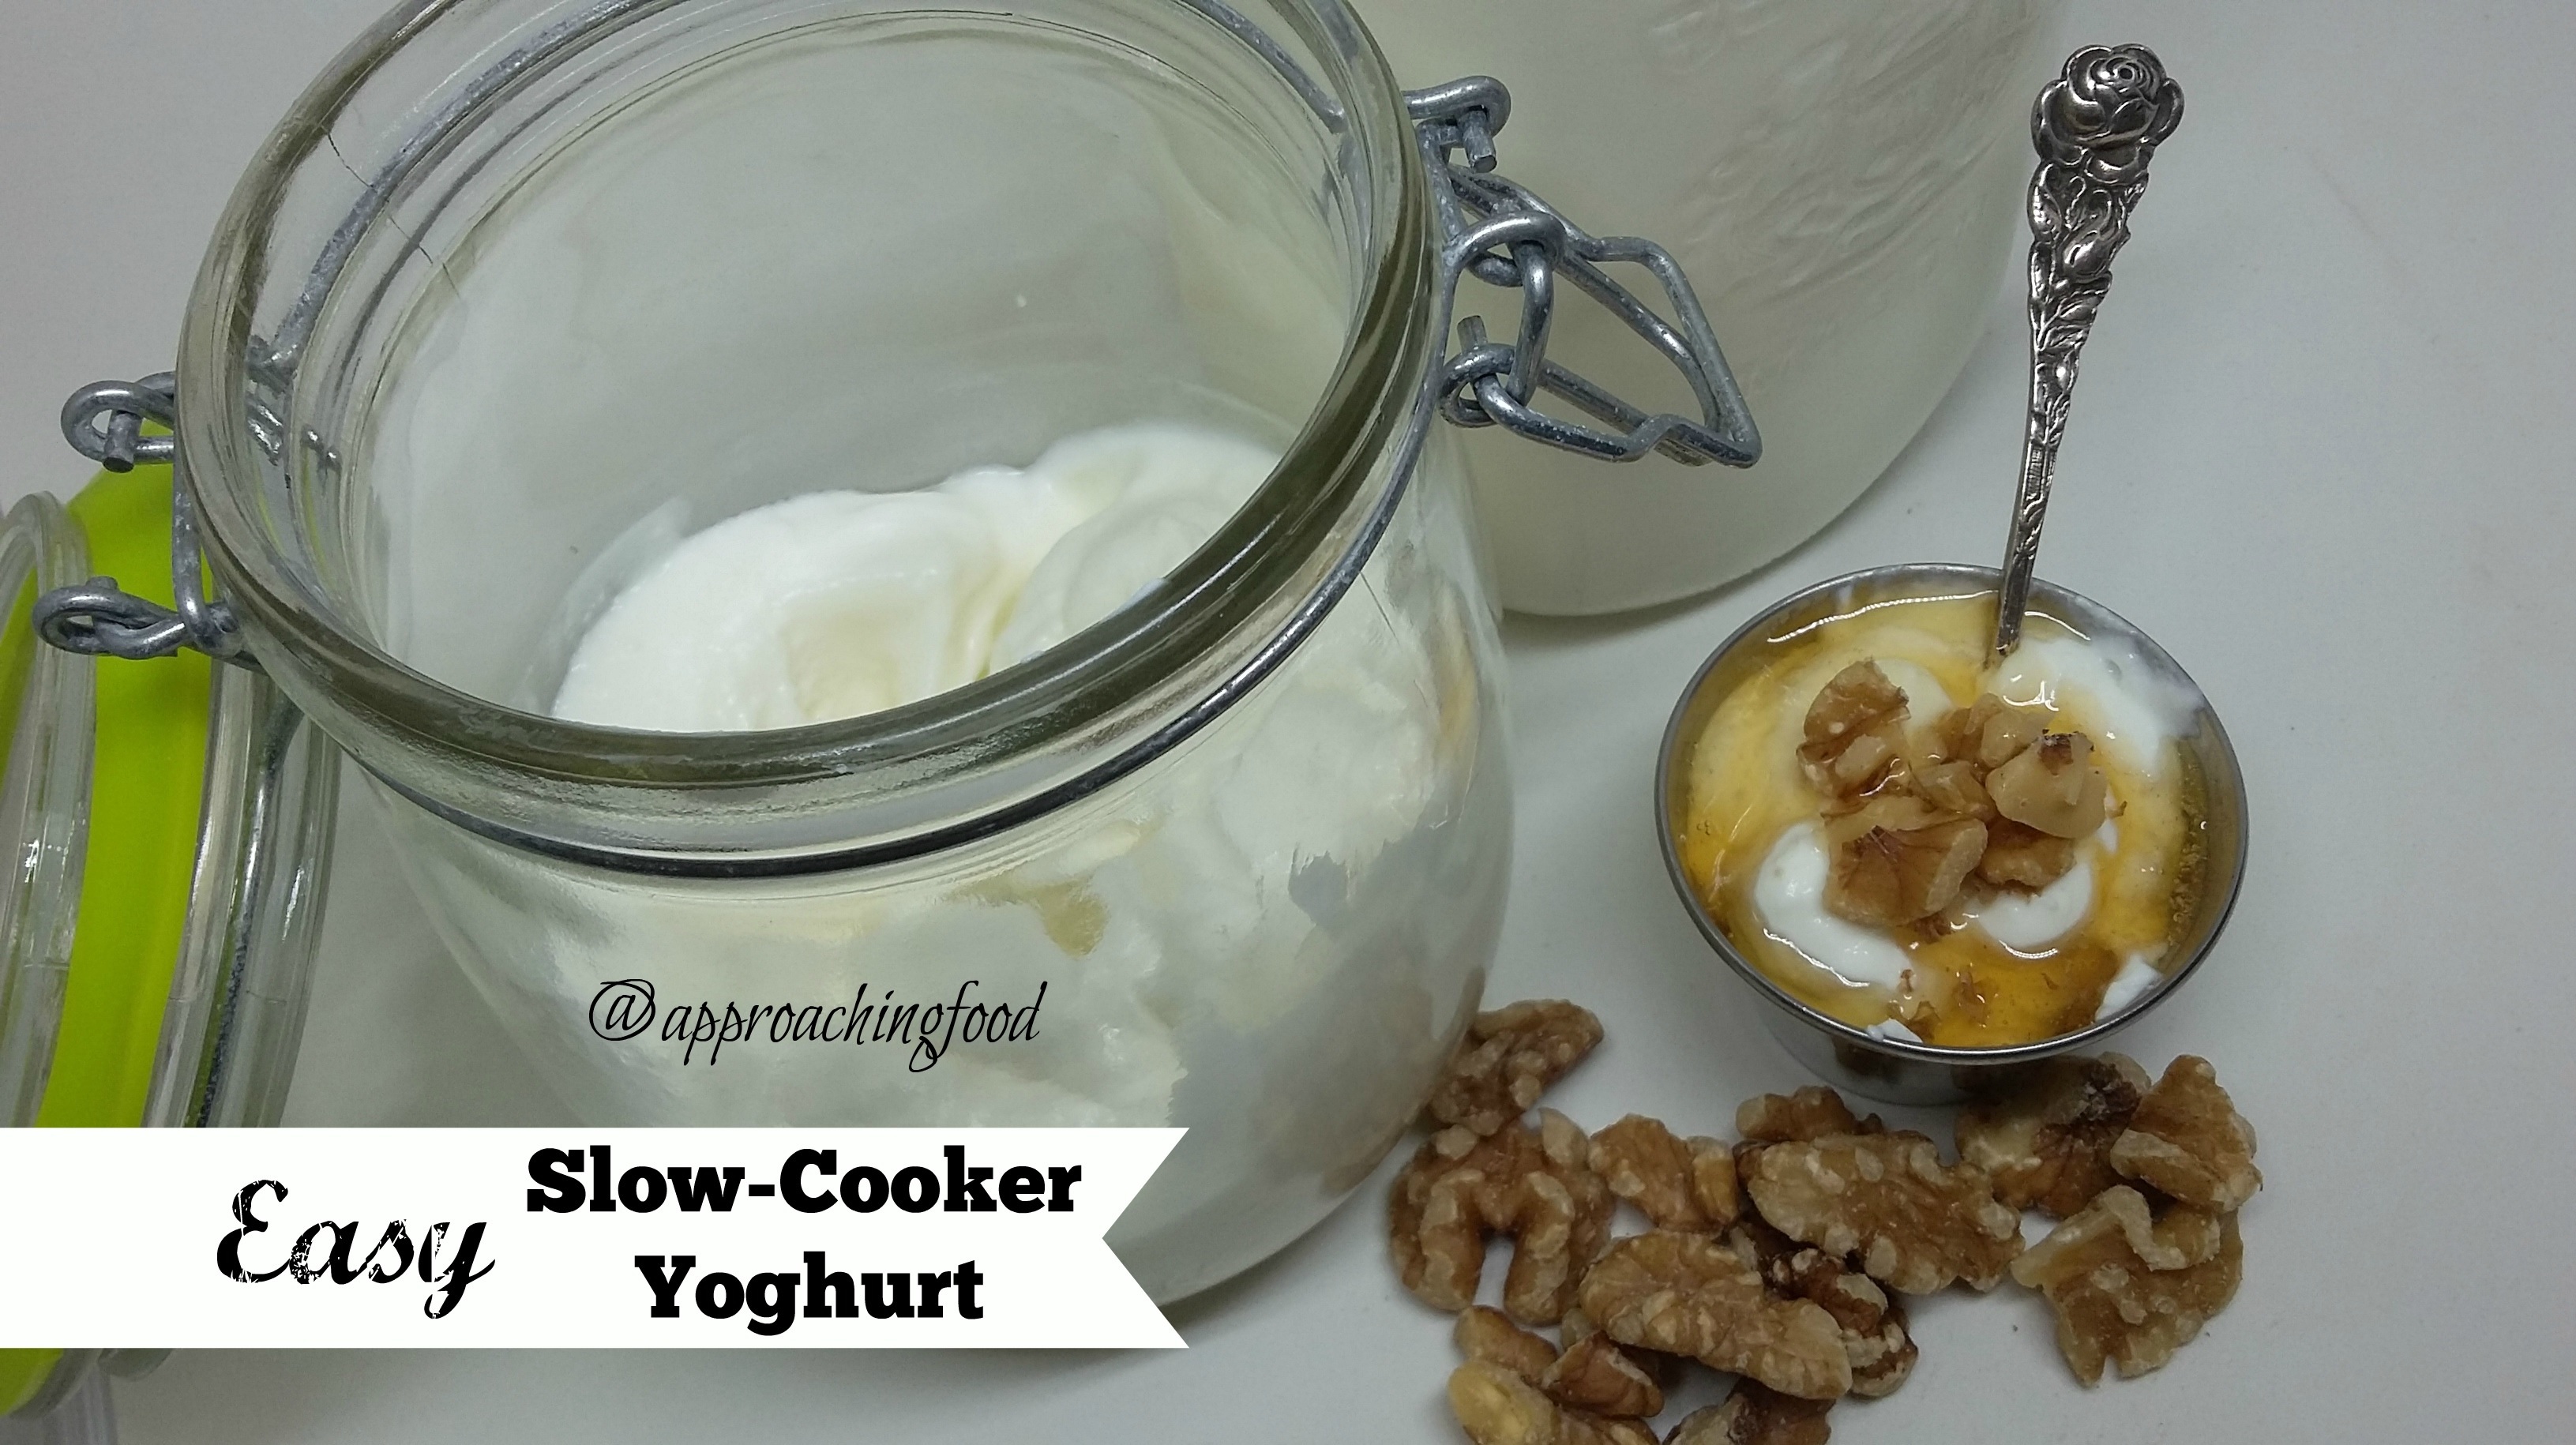
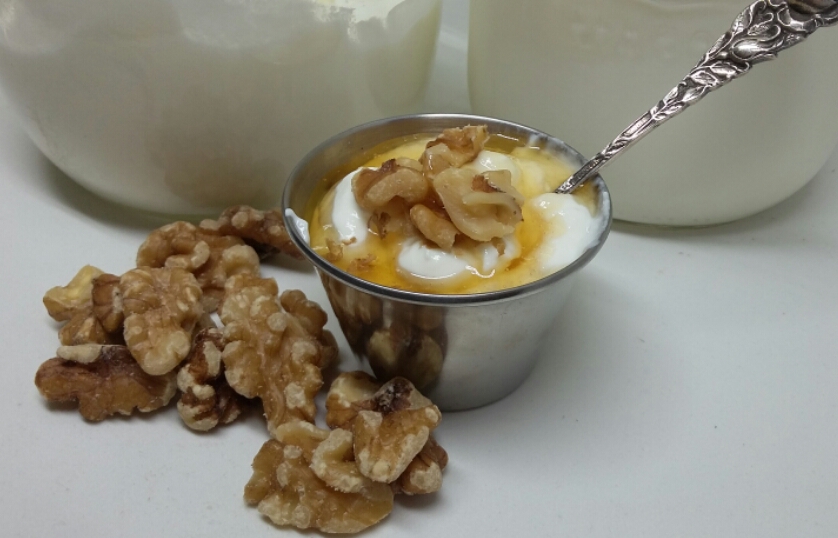
I love eating this yoghurt mixed up with my clean-eating cranberry granola, or with some homemade jam to sweeten it up. Or sprinkled with walnuts and honey! I do love yoghurt…and so does my gut!
Next Post: Lentil sprouts! Also easy, also delicious. Plus, it’s fun to watch them grow!
Linking up at Meal-Plan Monday! And again!


[…] useful, I should use them, but…they take so long to boil! Ugh. Just like when I’m heating milk for yoghurt, I tend to turn up the burner to high to get to the cooking part more quickly. Should I? No. Do I? […]